Braidless Sew-in: Everything You Need To Know
Traditionally, sew-in extensions require braiding natural hair into cornrows as a base before joining wefts with a needle and thread. While effective, this treatment can occasionally cause scalp discomfort or strain, and it may not be suitable for persons with sensitive scalps or fine hair. Enter the braidless sew-in process, which has revolutionized the world of hair extensions.

What Is Braidless Sew-in
So, what precisely constitutes a braidless sew-in? As the name says, it eliminates the need to braid natural hair as a base. Instead, the extensions are fastened with micro-links, beads, or silicone-lined beads that are clamped to small sections of natural hair. This not only provides a more comfortable and lightweight choice, but it also reduces the likelihood of natural hair damage from tight braids.
This technique does not include braiding the hair down. As a consequence, the scalp and weave will have greater breathing space. This guarantees that your cleaning habits always encourage skin health and glossy hair. The weave requires a minimum of five inches of hair. This allows you to make ponytails and other hairstyles.
Braidless sew-in would last around 8 weeks, depending on how quickly your natural hair grows. The entire treatment takes four hours to complete.

How To Install Braidless Sew-in
In order to properly do the braidless sew-in technique, you will need to prepare several tools and follow the procedure:
- Weft hair extension bundles.
- Silicone beads that match the color of the hair.
- Nylon thread that matches the color of the hair.
- Hair threader.
- Hair pliers.
- Hair clips.
- Rat tail comb.
Step 1: Prepare your natural hair
Wash and condition the natural hair thoroughly, ensuring it's clean and free of any product buildup.
Blow-dry or air-dry the hair completely before starting the process.
Step 2: Sectioning the hair
Use the rat tail comb to divide the hair into tiny, equal portions. The size of the sections will be determined by the number of wefts you intend to put in and the thickness of your natural hair.
Step 3: Attach the silicone beads
Thread a short piece of natural hair through a silicone bead.
Slide the silicone bead near to the natural hair's roots, providing a tiny gap for mobility and preventing scalp stress.
Close the silicone bead tightly using pliers, making sure it's tight enough to hold the hair in place but not so tight that it causes irritation.

Step 4: Sewing the wefts
Thread a needle with the same color sewing thread as the wefts.
Take a weft of hair extensions and place them below the original hair, near the silicone bead.
Stitch the weft to the natural hair in a looping motion, passing through both the weft and the silicone bead. Make sure to attach the weft securely but not too tight.
Continue sewing the wefts into the natural hair, working in tiny pieces from one side to the other, until the required volume and length are attained.
Step 5: Finishing touches
Trim any extra thread and hair to achieve a smooth mix of extensions and natural hair.
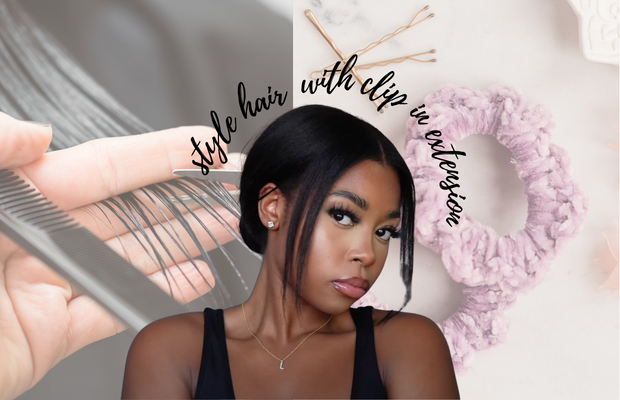
Style the hair anyway you choose, whether straight, curled, or a different texture.
How Long Does Braidless Sew-in Last?
Braidless sew-ins require follow-up care after 6-8 weeks, depending on how fast your hair grows. The micro-beads need to be adjusted higher or replaced. With proper at-home or salon care, your installation should last around 3-4 months.

Advantages Of Braidless Sew-in
Flexibility in styles
One of the key benefits of the braidless sew-in procedure is its versatility. Unlike traditional sew-ins, which are limited by the direction and size of the braids, braidless sew-ins provide for more styling alternatives. Whether you wear your hair up in a ponytail or down in loose waves, the lack of heavy braids creates a more natural and seamless look.
Works well with any hair types
Braidless sew-ins are suitable for a wide range of hair types and textures. This technique may be adapted to your natural hair texture, whether it is straight, curly, or kinky. It's also a fantastic option for people with fine or thinning hair, since extensions may provide volume and fullness without the need for heavy braiding.

Durability
Another advantage of the braidless sew-in procedure is its durability. Braided sew-ins can last six to eight weeks, or even longer, if assembled and cared for properly. This makes it an economical option for those looking for a semi-permanent hair extension procedure.
Requires no adhesive or heat
One of the most common worries people have when getting a hair weave for a certain style is the possible harm to their natural hair. You'll fall in love with this hair extension. The hair attachment may be made without using heat or adhesive. This reduces harm to your natural hair follicles.
Healthier for your scalp
Cornrows with conventional sew-ins can cause stress and tension on your edges, resulting in hair breakage. Braidless sew-in allows you to shampoo your hair between sessions, preventing itchy scalps.
Conclusion
Finally, the braidless sew-in procedure provides a contemporary and adaptable alternative to traditional sew-in extensions. With its lightweight and soft feel, variable style choices, and appropriateness for a wide range of hair types, it's no surprise that this approach is becoming increasingly popular among people looking to improve their natural locks. Whether you want to add length, volume, or simply change up your appearance, braidless sew-ins are definitely worth considering for your next hair transformation.


Comments
Post a Comment