Pro Guidance On How To Melt Lace
Things to Notice Before Melting Lace

Lace quality
Not all lace is the same. Thinner lace blends better into the skin. Transparent and HD lace are the thinnest and most seamless options.
Lace color
If you're using standard lace, choose a color that matches your skin tone for a smoother blend. Transparent and HD lace work well with any skin color.
How to Melt Lace: Step-by-Step
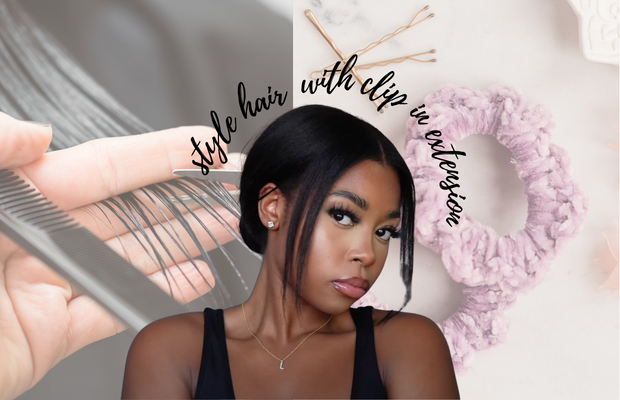
Step 1: Wear a wig cap
A wig cap adds a protective layer between your hair and the wig. Choose one close to your skin tone. Cut ear holes so it lays flat.
Step 2: Secure the wig cap
Use freeze spray and a blow dryer to hold the cap in place. Once dry, trim the extra cap along your hairline. You can apply foundation for a better match.

Step 3: Put on the wig
Apply glue along the front edge of the cap. Place the wig so the hairline sits where you want it. The lace should blend with your skin.

Step 4: Trim the lace
Once the wig is secure, trim the lace using scissors or an eyebrow razor. Use a zigzag motion to keep the hairline natural. Smooth back the hair with mousse or water.

Step 5: Apply freeze spray
Spray along the lace edges slowly, from left to right. Blow dry the area to help the lace melt into your scalp.

Step 6: Wrap the hairline
Use a wrap strip or melt band around your hairline for at least 10 minutes to help the lace set.

Step 7: Remove the wrap
Gently take off the wrap strip, making sure it doesn’t pull on the hairline.

Step 8: Create baby hairs
Use a rat-tail comb to pull out a few hairs along the front. Trim them to about 1 inch, then style with mousse or pomade using an eyebrow brush. Use a wrap strip again to hold them in place.

Step 9: Flatten the wig
If the wig is too puffy, use the back of a hot comb on small sections to flatten it. Use medium heat and keep the comb moving.

Conclusion
Follow these steps to melt lace like a pro. It may take a few tries, but with practice, you'll achieve a flawless, natural look.


Comments
Post a Comment